

(This is intended to be a starting point, you may find more is required depending on your process. We want to hear from you! After you read this let us your process!)
Setting up a new injection molding machine is a critical process that involves several steps to ensure efficient and safe operation. Before setup, get as many details of the job and the machine as possible. An idle machine is a waste of time and money. Try set your new machine up to handle as many different molds as possible. Once properly setup, it’s crucial to routinely monitor the equipment to catch any issues early and keep production running smoothly.
In your initial preparation, be sure to completely review the manual. Familiarize yourself with the specifics to understand its functions, controls, and safety features. Select the proper location to ensure the machine is placed in a well-ventilated, stable, and clean environment. The location should allow easy access for maintenance and operation. Arrange for proper venting for noxious fumes from resin like PVC, acetal, fluoropolymers, etc.
Also Consider:
- Space needed for Auxiliary Machinery and Equipment, Hot-Runner Temperature Controllers, Resin Bins and a Work Table
- Cart for processor supplies, such as mold rust preventatives, ejector-pin lubricant, brass tools, purge bucket, ejector – knockout bars, propane torch, nozzles, and sprue-bushing, radius gauges, etc.
- Special equipment to inspect, assemble, label, trim, box etc.
- Quality-control equipment
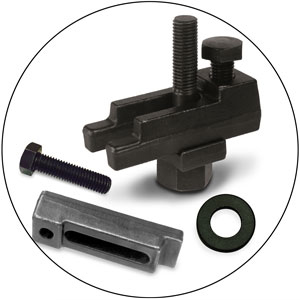
- Obtain proper number and size of Mold Clamps, Bolts and Spacers.
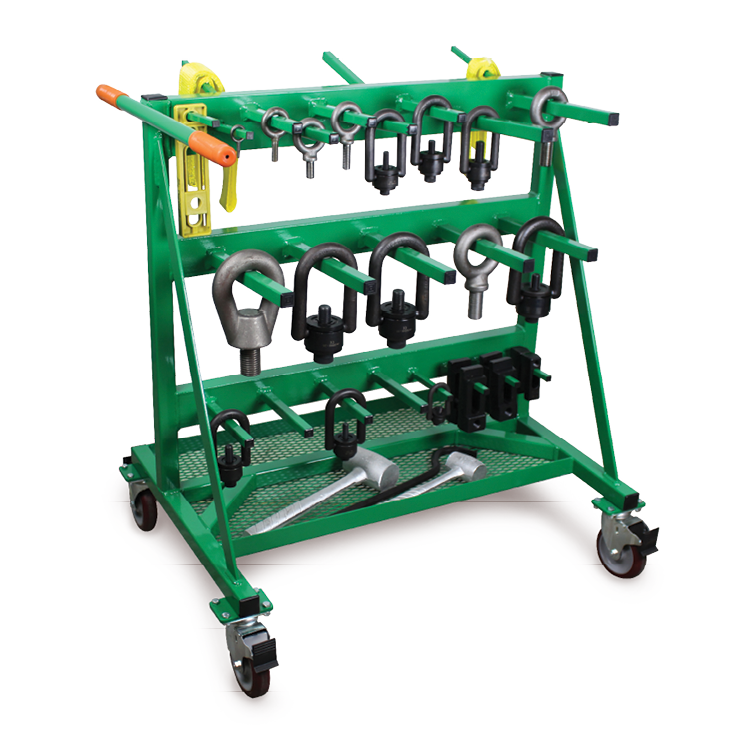

Hoist Ring Rack – Mobile Hoist Ring, Eyebolt, Lifting And Rigging Utility Cart
Mold Maintenance And Set-Up Cart – Ready for your specific needs
Keep available floor space near the machine that will see routine maintenance or troubleshooting. If you must put something near the control cabinet, make sure everything has quick disconnects and on wheels for easy access. Verify that the machine is connected to the correct power supply. Ensure that voltage, frequency, and phase match the machine’s specifications. Install safety guards and ensure all emergency stop buttons are functional. Provide training to operators on safety protocols.
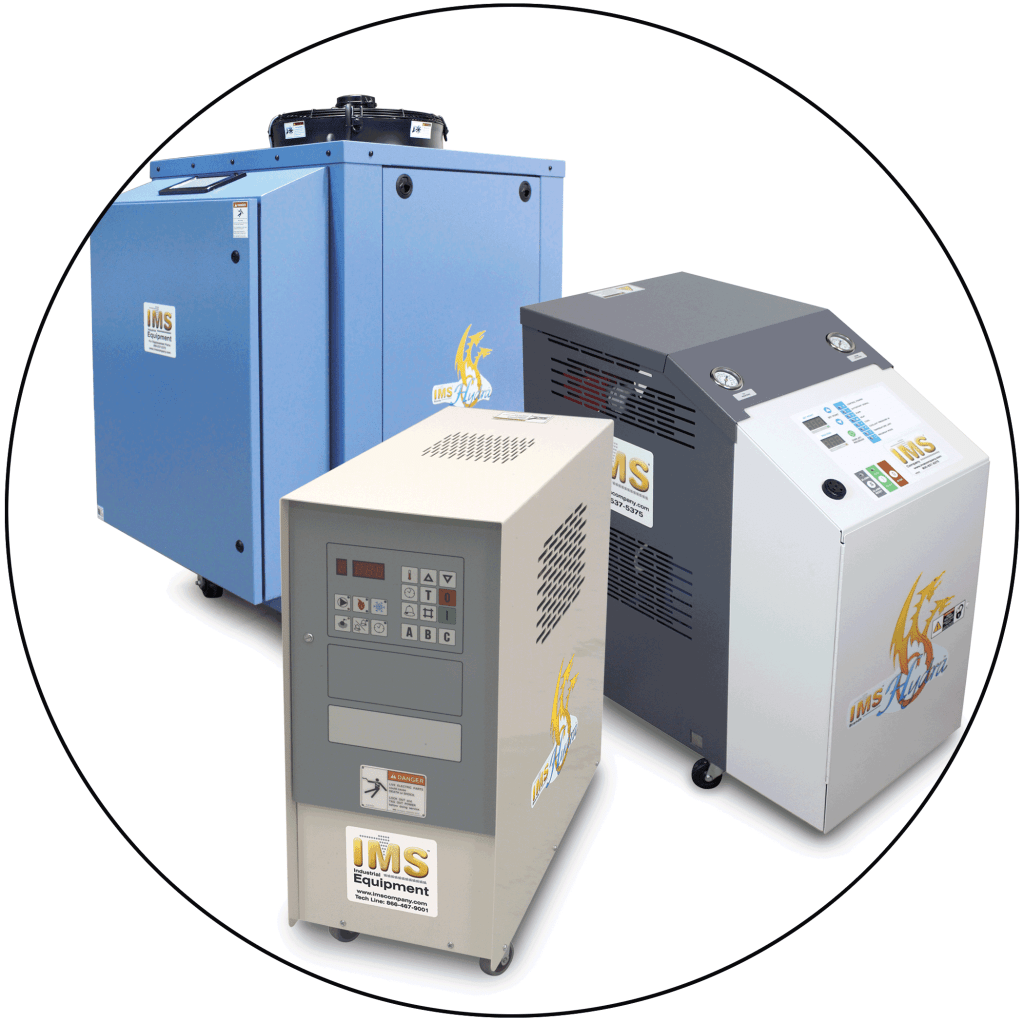
Order and set up mold-temperature controllers with gpm (lpm) flow monitoring and pressure sensing on inlet and outlet. Order and install appropriate cooling for machine, mold and auxiliaries. Remember all lines to the mold must carry the same temperature and volume of water for every run. That is, each machine must have a mechanism (usually a mold-temperature controller with flow meters and pressure gauges to push the same volume and temperature of cooling/heating agent every time the mold is in the press.


Machine Installation
Use a level to ensure the machine is perfectly leveled. Uneven leveling can cause issues with part quality and machine wear. Also, check the floor’s weight rating can handle the new machine and accessories. After connecting utilities like electricity, water for cooling, and compressed air; check for any leaks or irregularities. Power on the machine and configure the control system as per the requirements. Load any necessary software.
Mold Installation, Setup and Calibration
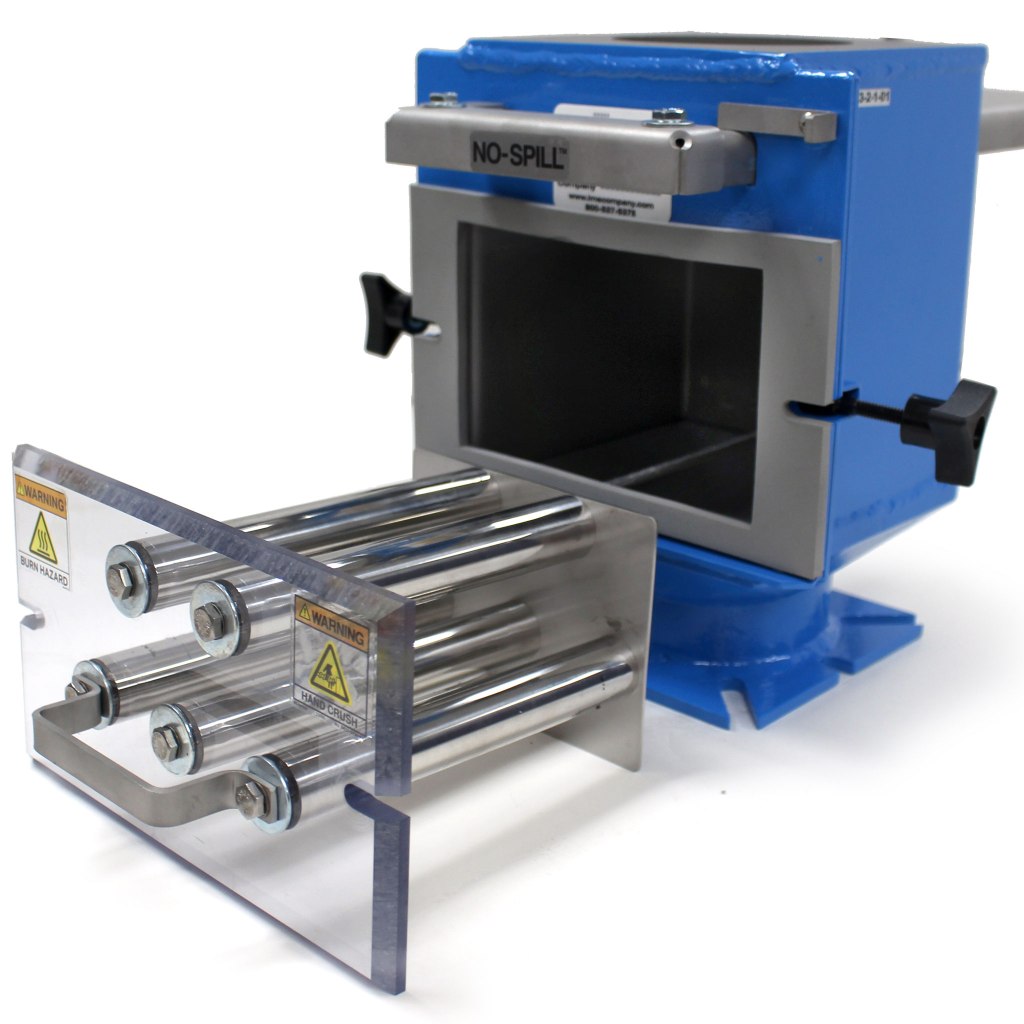
Using appropriate lifting tools; align and fasten the mold into the machine. Adjust the clamping force to match the mold’s specifications. Over or under clamping can damage the mold or result in defective parts. Connect the cooling lines and ensure that water flows correctly through all channels. Input injection pressure, temperature, and cycle time, based on the material and mold requirements. Run the machine without material to check for smooth operation. Prepare the raw material by drying them if necessary to avoid moisture-related defects. Fill the hopper with the raw material. Ensure the material is clean and free of contaminants (tramp metal).

Trial Runs & Quality Control
Run a few cycles to fine-tune the process parameters. Perform a thorough inspection of the first few molded parts for dimensions, surface finish, and any defects then make necessary adjustments. Compare them against the specifications. Record the final process parameters once optimal settings are achieved. This documentation will be useful for future reference. Continuously monitor the process and adjust the settings for optimal performance. This includes adjusting the injection speed, holding pressure, and cooling time.
Check Power Requirements:
- Motor
- Heater Bands
- Temperature Controllers
- Hot-Runner Controllers
- Heaters
- Dryers
- Loaders
- Conveyors
Check Routes and Connections:
- Power
- Water
- Chiller Lines
- Drains
Be Sure to have appropriate:
- Injection End Components
- Manifolds & Fittings
- Hose
- Tubing & Clamps
- Inlet/Outlet Pressure Gauges
- Mold Waterline Descaler (critical to keep channels within the mold through which coolant flows to control the temperature during the molding process clean and effective) https://imscompany.blog/2023/03/02/ims-lime-buster/
- Purging Compounds – process of cleaning the machine, barrel, screw, and nozzles, of any residual material to prevent contamination, defects, or color mixing in the next production run. https://imscompany.blog/2022/08/17/purgex-purging-compounds/
- Safety Supplies
- Mold Protection – Mold Release and Mold Cleaner and Rust Prevention
Final Checks
Perform a final safety check to ensure all guards are in place and the machine is operating safely. Ensure that the operators are fully trained on the machine’s operation, safety procedures, and troubleshooting techniques. Set up a maintenance schedule to ensure the machine operates efficiently over time.


Leave a comment